
The Steam Deck is already an incredible device that allows me to play a vast library of PC games wherever I go. But what truly sets it apart is its versatility as a desktop computer. I love the fact that I can install other launchers, browsers, programs, and emulators, turning the Steam Deck into an all-in-one gaming and entertainment powerhouse.
Steam Deck Emulators have become my gateway to reliving the magic of games from older consoles, bringing back cherished memories and experiences that were once limited to specific hardware. However, managing a large number of emulated games can quickly become a challenge, cluttering up my Steam Library and making it difficult to find specific titles.
Thankfully, EmulationStation comes to the rescue.
With EmulationStation, I can create a separate folder within my Steam Library dedicated to simulated games, keeping everything organized and easily accessible. No more sifting through a sea of games; now I have a dedicated space for my favorite classics.
Installing EmulationStation on my Steam Deck has not only streamlined my gaming experience but has also allowed me to fully utilize the device's potential.
If you're eager to get started, I've got you covered with a step-by-step guide on how to install and configure EmulationStation on your Steam Deck.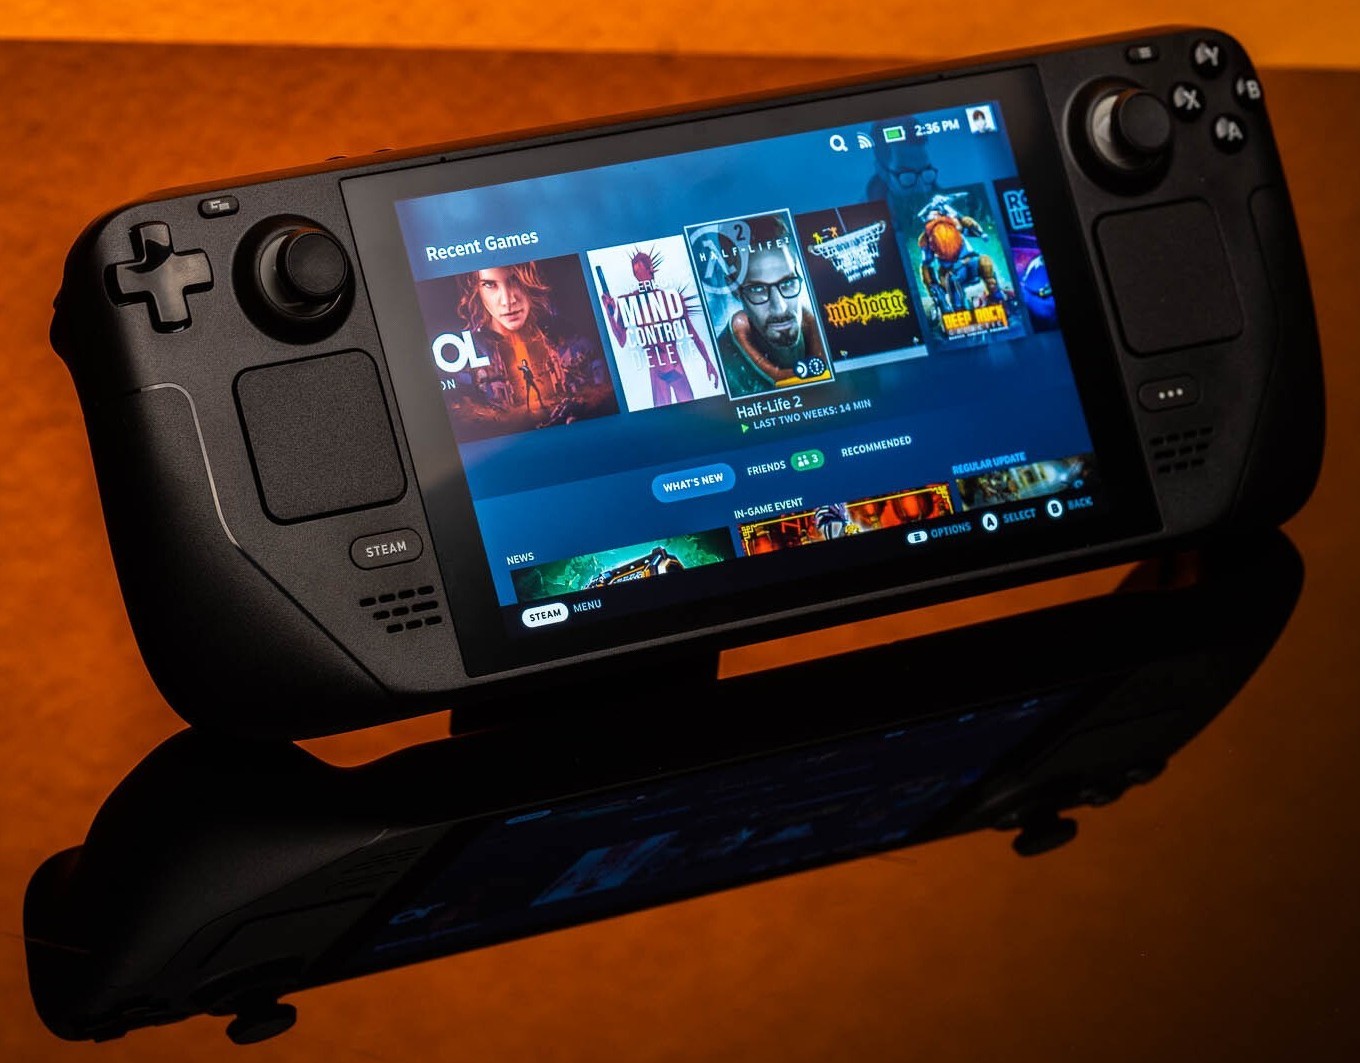
How to Install EmulationStation on Steam Deck?
- Go to the official website and download the installation image. You can find EmulationStation on other sources, too, but it's highly recommended to go for the official source.
- Once on your hard drive, open Steam, and you'll find a button to add a game in the bottom left corner. This step will add EmulationStation to Steam.
- From the next menu, choose to add a non-Steam game. You’ll be prompted to browse and find the EmulationStation file downloaded previously.
- Sometimes, you may not see it in the download folder. I had the same issue and started panicking. Make sure you choose to see all files from the file type option.
- Choose the file, open it, and click to add selected programs.
Configuring EmulationStation
Most people choose to rename EmulationStation after installation, which is what I did, too. The name is random.
- Go through the game list on Steam, right click to find the properties. Go to the shortcut and change the name.
- Running the app for the first time can’t be done through the Steam Library. Instead, browse to where you’ve downloaded EmulationStation and open it there.
- Launch the program, and you'll be asked where the ROM directories are.
- Choose to change the ROM directory. Copy the path to the ROM directory and paste it there.
- You’ll need to restart the application next. Hit OK and choose to quit in order to restart it.
- The final step is done through Steam. Go to the library, find EmulationStation, and hit the play button.
- From my experience, depending on your system, it may take a couple of minutes to load the entire configuration.
If you’re not happy with its appearance, you can work on the UI setting through the application. Things you can change include the transition, box images, or theme, among others. If you're alright with the settings, I recommend leaving them as they are.
Importing and Launching ROMs on EmulationStation
- To add ROMs, you only need to drop files into the ROMs folder, simple as that. I just copy and paste stuff.
- Download some ROM games from our ROM section. EmulationStation doesn’t include any ROMs, so you must follow this step.
- Based on the emulator you use, make sure you have the right cores for your games. On the same note, some cores require a particular BIOS.
- Open EmulationStation, and the folder will be automatically considered a new console, so you can play the ROMs you've added earlier.
Using Controllers with EmulationStation
- You can configure controllers the first time you load EmulationStation or whenever you get them. You can also configure controllers later, there are no rules here.
- As the message on your screen clearly displays it, you’ll need to hold down any button on the gamepad or keyboard. The name will turn up at the bottom of the screen and will lead to a configuration screen.
- Based on what controller it is, you’ll get automatic instructions on the screen. Assigning buttons is simply a matter of pressing a button on the gamepad to give it a corresponding action.
- Depending on the controller you have, you may run out of buttons. Simply hold down a button, and each unused button will be automatically skipped.
- When you need to confirm everything, press the button configured as A to do it.
- The start menu in EmulationStation will allow you to configure more than just one controller.
There’s also a manual way to perform this configuration, but everyone will choose the automatic one for convenience. I’ve found quite a few tutorials online, but it’s simply not worth the hassle. The automatic process is straightforward and requires no experience whatsoever.
Scraping Metadata
The good news is EmulationStation has a built-in scraper. Known as Scraper, it’s accessible from the initial menu. You won’t need to install any third-party applications. Other similar programs will require third-party software, which can be a bit dodgy if you’re not sure what you’re doing.
- Choose the scraper from the main menu, usually located at the top.
- You can then choose where to scrape from and ratings, but you’ll also have the final button to scrape now.
- Users can also choose the filter and systems.
- Depending on the download speed, it may take a few good minutes to complete the process. It may seem unresponsive, but give it time.
- EmulationStation may download additional files, and that's what usually slows it down, so simply go do something else until the process is over. From my experience, you shouldn't mess around on the computer while the process is ongoing, or it may encounter errors.
Again, there are third-party ways to do this, but EmulationStation has a convenient way to do it without installing anything else.