I remember the excitement I felt when I first discovered the world of DeSmuME emulation. The thought of reliving my favorite Nintendo DS games on my computer was a dream come true. However, as a newcomer to the emulation scene, I found myself overwhelmed with the installation and configuration process.
If you're in the same boat, worry not. I'll take you through the step-by-step process of downloading, installing, and configuring the DeSmuME emulator, ensuring that you'll be diving into a world of handheld gaming nostalgia in no time.
About DeSmuME Emulator
DeSmuME is a popular emulator that allows users to play Nintendo DS games on their computer. Known for its exceptional accuracy, DeSmuME is continually developed by the dedicated DeSmuME Team. It is an open-source software available for multiple platforms, including Windows, Mac, and Linux.
DeSmuME aims to replicate the functionality of the Nintendo DS handheld console, providing a means for users to enjoy their favorite DS games on a larger screen.
It supports various features such as save states, touchscreen emulation, microphone support, multiplayer capabilities, and more. Whether you want to revisit classic DS titles or explore new ones, DeSmuME offers a convenient and accessible way to experience the world of Nintendo DS gaming on your computer.
Requirements - Things To Know Before Installing DeSmuME
DeSmuME is an emulator and doesn’t come with any games, so you’ll need to find ROMs for your favorite games yourself. Other than that, technical requirements include:
- Windows XP SP2 or newer
- Mac OS X 10.5.8 Leopard or newer
- Any Linux distribution with the 2.6 kernel
- 2.0 GHz processor or better
- 1GB of RAM or more
These are the minimum requirements. More is obviously better. From personal experience, too much won't make such a big difference, though.
How to Download DeSmuME emulator?

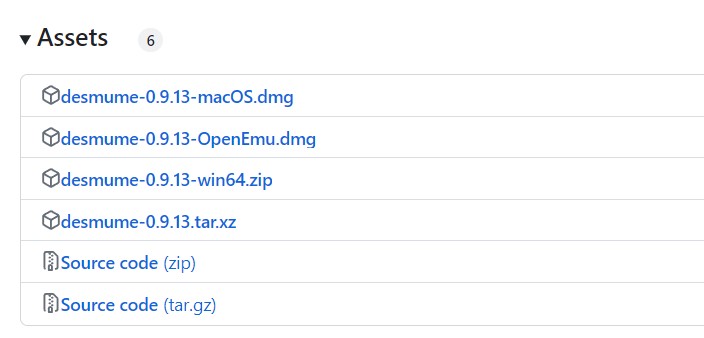
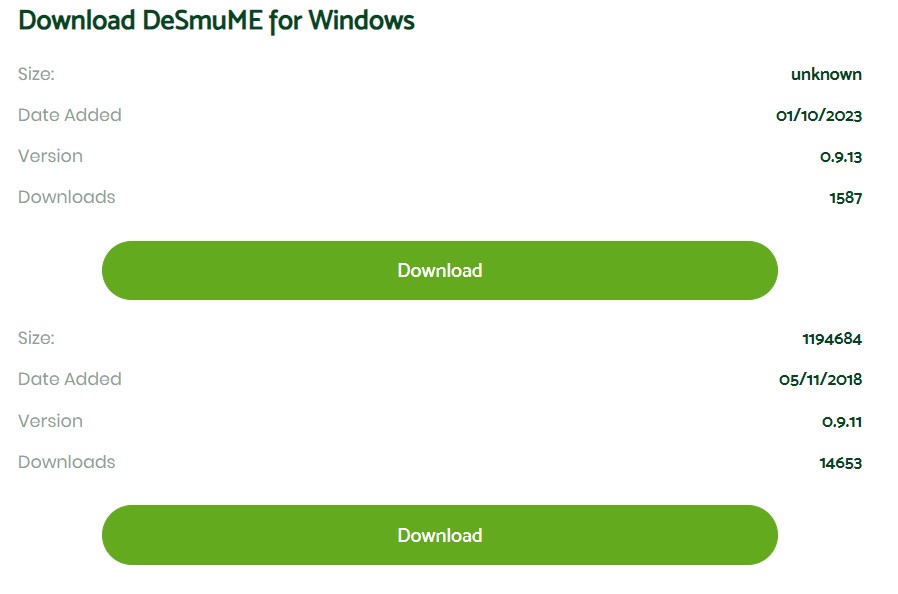
You can always head to the DeSmuME emulator download page on our website. Linux and Mac users will need to perform a manual download, unzip the archive and run the installation.
At times, some antivirus may detect a threat. Download the file from the official website, and there's nothing to be worried about.
Linux users can perform the same steps, but various distributions can also work with a quick installation through the terminal (Ctrl+Alt+T).
- Ubuntu or Debian users type
sudo apt install desmume - OpenSUSE users type
sudo zypper in desmume - Arch Linux users type
sudo pacman -S desmume - Solus users type
sudo eopkg it desmumE
Fedora users require the RPM Fusion repository first. Once installed, typesudo dnf install desmume.
Installation Setup for DeSmuME Emulator
For Linux users, the download will automatically install the software too.
For Windows and Mac users, once downloaded, you’ll need to unzip and run the installer. It’s a straightforward process that implies going through a few steps.
From personal experience, Windows users will need to set the graphics card and controller too, once the emulator is installed and run for the first time. Mac users will only need to set the controller, if any.
How To Install DeSmuME on Windows?
Here are the steps to install DeSmuME on Windows.
- Go back to the original DeSmuME emulation page and find the version for your particular type of Windows and configuration.

- Unzip the downloaded file and run the executable.

- If you get a virus threat, it’s only a false alarm.
- Once installed, you can run it through the start menu, desktop shortcuts, or installation folder.

How To Install DeSmuME on Mac?
The Mac installation is similar to the Windows one. I've tried both, and the process is smooth and only takes a few minutes. Here are the steps.
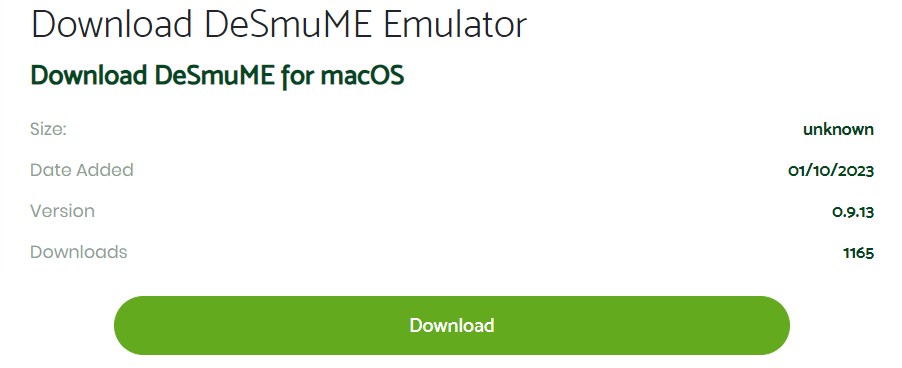
- Again, go back to the DeSmuME emulator and find the download version for Mac.

- Double click the download, but also drag it to the applications folder for easy access.
- Once installed, you can run it straight away.
How to Install DeSmuME on Linux?
The Linux installation depends on the distribution you have. The above mentioned steps for each distribution will do two in one. Basically, you’ll both download and install the package with one command only.
The only problem is with Fedora distributions, which require installing the RPM Fusion repository first.
How To Configure the DeSmuME emulator?
For Windows and Linux users, once you run DeSmuME, you'll need to set the graphics if you have an Nvidia graphics card. Go to Config, find 3D settings, and then renderer. Pick OpenGL 3.2.
If you have a controller, plug it in, and whether you use Windows, Mac, or Linux, the setup is the same. Go to Config and find controller configuration. You'll need to map all buttons first, and the controller can be used straight away.
Most controllers rely on USB connectivity, but other options are also accepted. They all require mapping buttons, though.
How to Load Games (ROMs) in DeSmuME?
Get all your game ROMs in the same folder. I find it easier, rather than having to browse through downloads whenever I play a different game.
It makes no difference what operating system you use for DeSmuME, loading a ROM implies following the exact same steps.
Run the emulator, go to the File menu at the top, and choose to open. Browse to the game folder and pick the one you want to play. Your game will start running straight away in the DeSmuME window, without having to do anything else.
Of course, depending on the game you choose, you can adjust some settings once in.
Have more and better information? Contribute by expanding the content of this page.
